Bandeau tops are everywhere right now, they are a hugely popular. My daughter has been ogling bandeau tops on the internet for a couple of months and she kept telling me that she really really liked one she saw that had a giant bow on the front. I off-handedly retorted that in my day they were called Tube Tops to which she rolled her eyes and reminded me that I’m old and in the same breath asked me if I could make her one for the 4th of July. She showed me a photo of a bandeau she found at this Etsy.com shop and asked me to duplicate it. Long story short, I did duplicate it; it was easy and I’m going to show you how to duplicate it in this DIY bandeau tutorial.
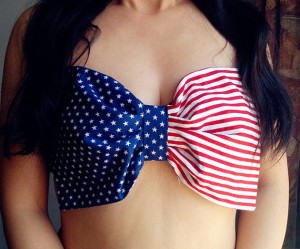
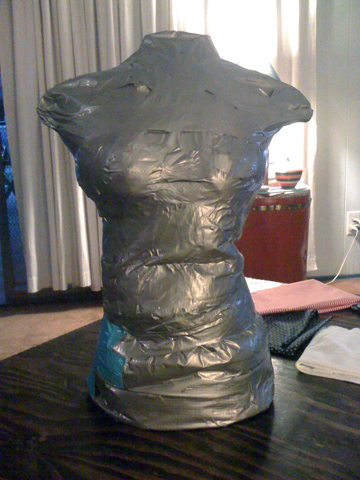
Once my daughter showed me this photo she ran off to Joann’s and picked up the fabric for the bow, dropped it off in my craft room and ran out the door to spend time with Loverboy. (The nickname is used with love. We like Loverboy, he’s good to our daughter and he’s a sweet boy…I almost pity him) Luckily for both my daughter, Acacia and I, I still have the duct tape dress form I made from Acacia’s body that will from here on out be dubbed Acacia2. Having Acacia2 allows me to sew for her when she’s not home…which is all the time now that she’s a wizened old college girl. World, meet Acacia2.
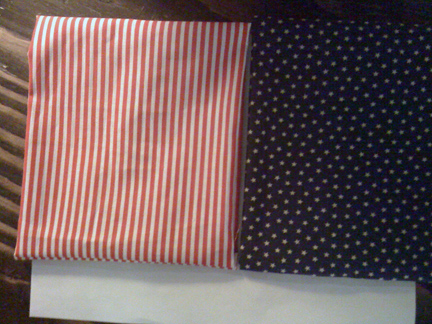
To make this bow bandeau you will need 3 pieces of fabric. My daughter bought half a yard of red striped fabric and half a yard of blue and white stars fabric. I happen to have some scrap white knit fabric that I used to make the bra part of the bandeau. If I were buying the fabric I would probably go ahead and grab a half a yard just to be sure. If you make this top once you won’t use up the whole half yard but its good to have enough to make two just in case something goes wrong. And believe you me, when you don’t use patterns to make clothes things can go horribly wrong. I promised to never talk about the crooked crotch again so I won’t bring up those pants I once screwed up….
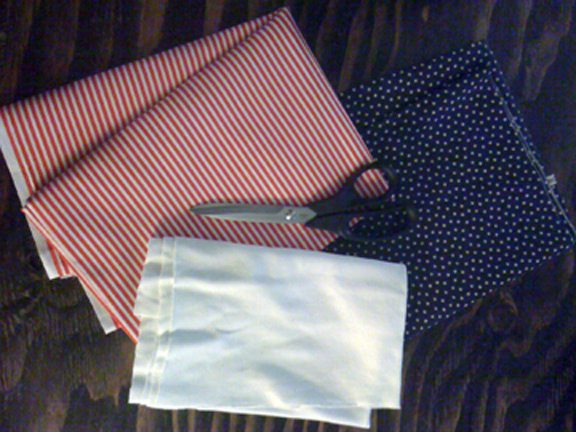
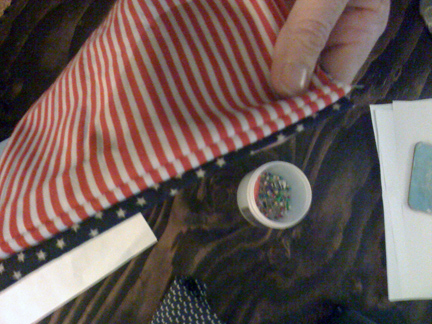
Fabric aside you are going to need a pair of good scissors, sewing pins, thread and a sewing needle.
The first thing I did to create a bow bandeau was to take my white knit fabric and fold it in half lengthwise so that I had a double piece of narrow fabric. Like so..
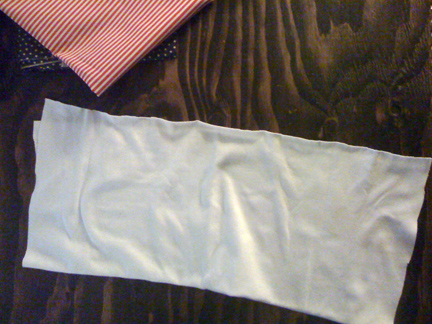
I wanted my bandeau to have doubled fabric so that my daughter felt covered, comfortable and secure. Plus it made me feel better to know if I was going to help my daughter wear as little clothes as possible I was going to make sure she was as covered as I could get her. She’s almost 19 and has a killer body so I can’t blame her for showing it off but as long as I can help it there will be no No see through, nipple showing white tops here! I took the white knit and wrapped it around the chest of Acacia2 with the fold being at the top.
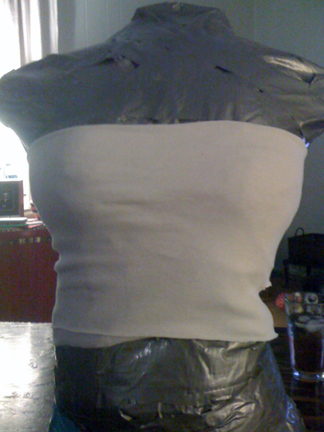
From the back I simply pinned it together so that it was tight. A word to the wise here – make sure you pull your fabric as tight as you can. In order for a bandeau made like this with no top or bottom elastic to stay up on the body, the fabric has to be pulled as tight as it will go.
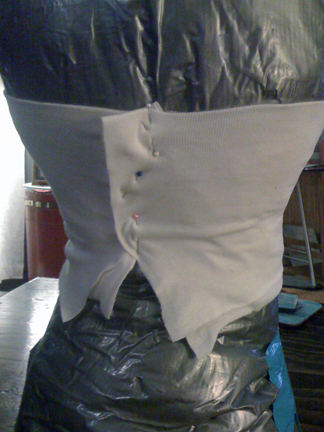
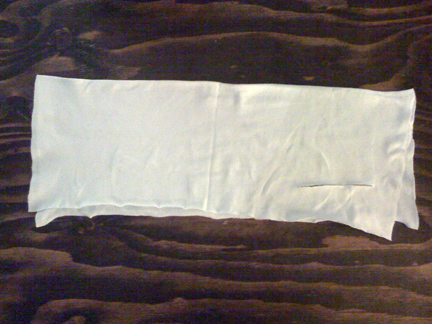
When I had my fabric pinned as tight as I could get it I cut a slit, horizontally in the side about 1 inch BELOW where I wanted the bottom of my bandeau to be. This will be where I’m going to cut off the excess fabric and sew together the tube part of this. I gave myself an inch which is more than needed for a seam allowance but again, it’s all about leaving myself room to maneuver. I can always make it smaller but it’s a hell of a lot harder to add fabric back once it’s been whacked off.
Next I unpinned the fabric and removed it from Acacia2. I laid it flat and made sure the slits were lined up. Like below..
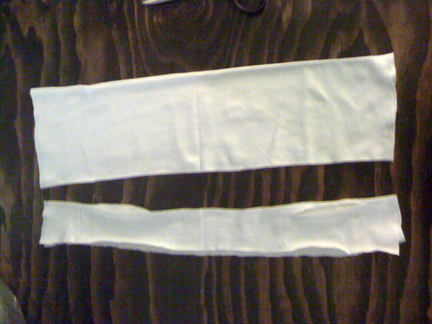
This was the only white knit scrap fabric I had but I figured there wasn’t any use being a chicken about it, might as well just chop it up and call it a day. If I was wrong, I was wrong and i’d have to run to the store and get some knit fabric. Now I had 2 pieces of white fabric. One fat and one skinny.
Next, I flipped my fabric so that I had right sides together (the sides that everyone sees on the outside.) and I pinned it together along the lengthwise edges. You won’t be sewing the ends together just yet so there’s no need to pin the ends unless you just like to pin the shit out of things and then by all means, pin away; don’t let me stand in your way of good pinning.
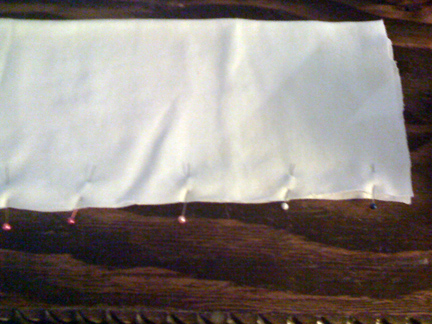
After you get the bandeau pinned go ahead and sew it together. For the sewing newbie this means you are going to sew down the edge you just pinned. Give yourself about half an inch of seam allowance. Then remove the pins. For the long time seamstress – you know what to do.
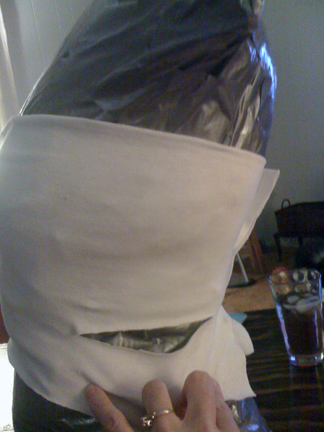
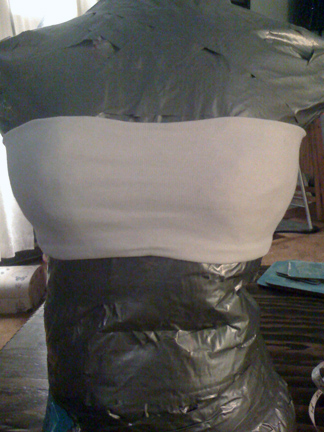
Once the piece is sewn together I had a tube of white material. Flip it inside out so that the seam is on the bottom and wrap it around whoever’s chest it is that will be wearing the bandeau. Since the real Acacia was still out and about with Loverboy I wrapped mine around Acacia2 to see if I had measured right and got it wide enough to cover any escaping boobage. Well, good ol’ Acacia2 spared me, my material was okay and my size was alright. I think it could have been maybe an inch or so wider but it was okay.
If you like a simple white (or whatever color) bandeau you could stop there, sew up the back and call it finished but if you want to know how to make this a bow bandeau then read more of my nonesense. (I do appreciate it when you read my nonesense btw)
One simple way of adding a bow to this bandeau is to take the leftover swatch of white knit fabric that we cut off and tie it into a bow on the front like this..
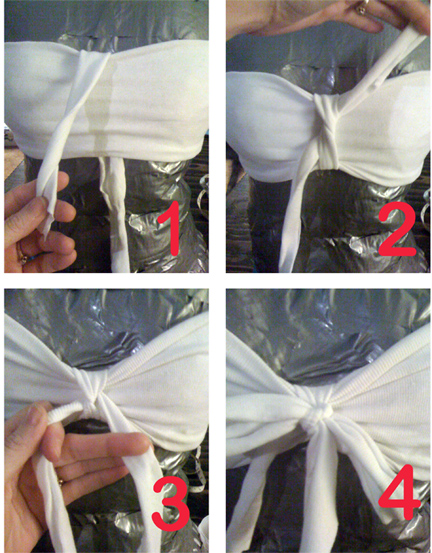
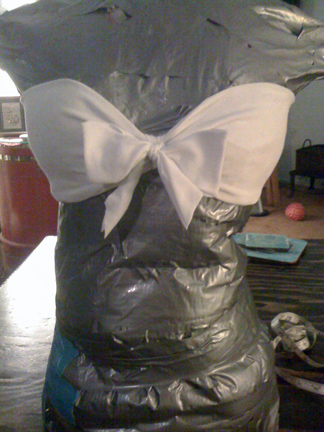
After step 4 in the above mini-pictorial tutorial you just fluff a bit and you end up with this:
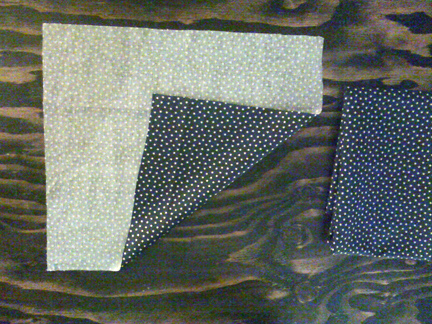
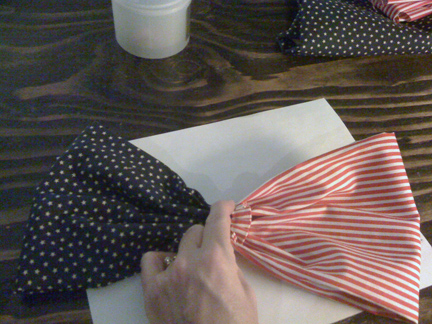
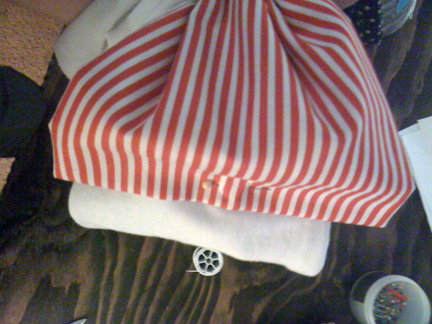
To make a bow like the one on the etsy store you need to cut your stars and stripes fabric into rectangles. For my daughter’s chest size I cut my fabric to 15 inches by 13 inches or 15″X13″. To determine what your measurements will be you will need to measure from the center of your chest (towards your armpit) to where you want the bow edge to be. For my daughter this was 7 inches. I doubled that and then gave myself again 1 inch for seam allowance so thus my width at 15″. the same applies for the height of the bow. Here’s what mine looked like:
You will need to cut both pieces of your bow fabric this way. Once you have them cut to size you will fold them in half, lengthwise with right sides together like such:
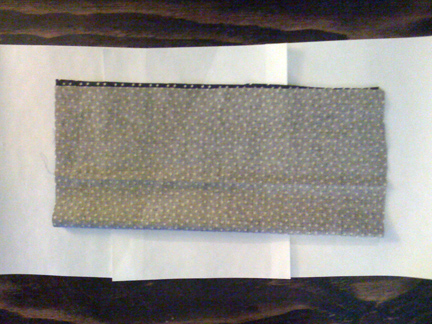
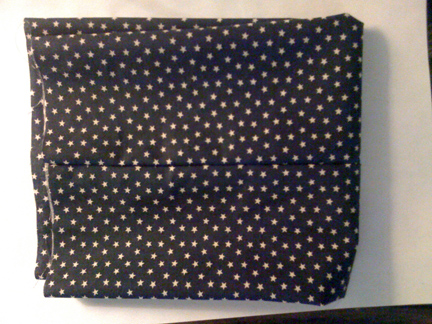
Just like we pinned the white bandeau fabric together we need to make sure we pin along the edges of our folded bow material. Once it’s pinned sew it together and flip the insides out again so that we have the following.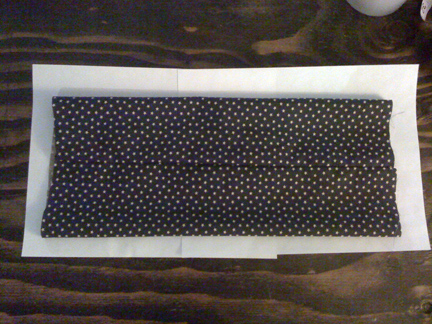
If you look very closely at that photo you will see that the seam runs down the length of the center of the fabric. That’s because when we fold our bow we don’t want heavy, bulky, ugly seams to show, so we hide them inside the middle.
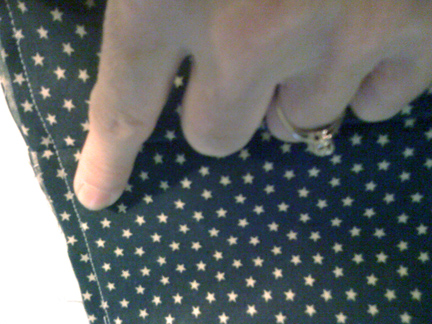
Next you’re going to need to fold your fabric in half again but this time you won’t be folding it lengthwise and you need to make sure that the seam you see in that photo is on the OUTSIDE when you fold it. look at the next photo to see what I mean.
Now sew along that edge this edge:
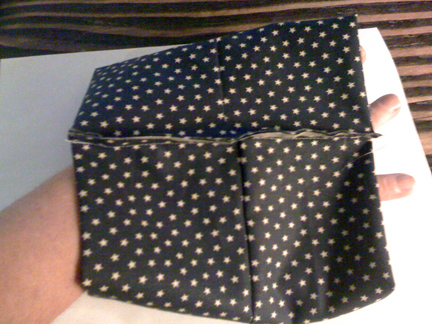
Flip it back inside out. Do this for both pieces of fabric and you will have two pieces that look like this:
Stack these two bow pieces on top of each other so that the seams are arranged on the ends.
Sew one end together. This will create your middle seam.
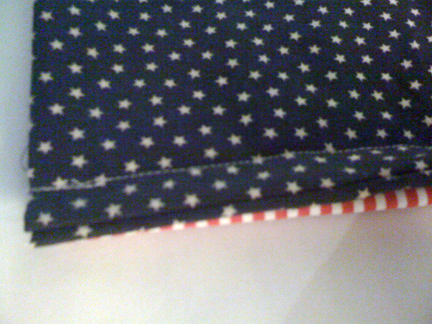
Unfold your newly sewn pieces and you should have one large tube with stripes on one side and stars on the other. Use your fingers and thumb and pinch the center together tightly so that it looks like a bow. Using a sewing needle (the hand kind, not the machine kind) sew the center together . The easiest way to do this is to shove the needle right up the center of all that bunched up fabric and pull tight. Still holding the center pinched between your fingers wrap the thread -with the needle still intact – around the pinched center. Wrap around and around about 10 times and then tie it off with the needle.
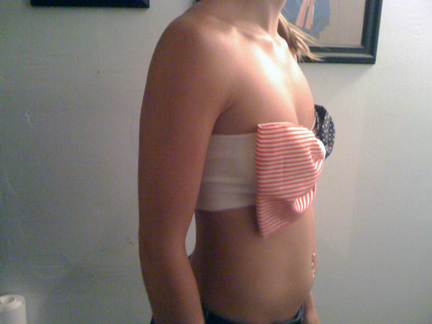
Now that you have the bow made somebody has to put the bandeau back on so we can figure out placement. By this time Loverboy brought Acacia home so I made her stay put for fittings. I had her put the bandeau on and hold the bow where she wanted it to be. I pinned both sides of the bow in place.
I sewed the sides down so that the center of the bow hung freely for the moment. A quick note here – when you sew the sides of your bow down be sure not to sew through all the layers of fabric because then your bow will look funky! Your bow should be hollow so even though it takes some maneuvering and cussing you should be able to get just the inside layers onto your sewing machine. If you are following this tutorial and hand sewing then you should have no problems hiding your stitches. Sew both sides down and then it’s time to work on the center.
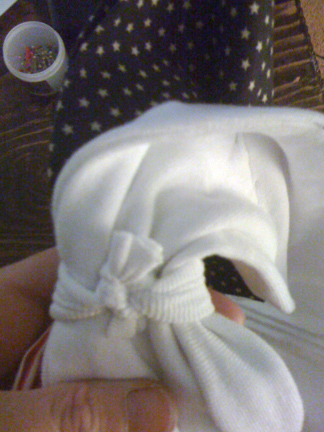
I used leftover white knit fabric for the center of my bow. You can use leftover stars or striped material or whatever you chose. Simple hold the pinched bow in place and tie your fabric around the center of the bow being sure to tie it around the bandeau and the bow. Tuck your knot inside and all should be secured. this is what the inside of your center should look like.
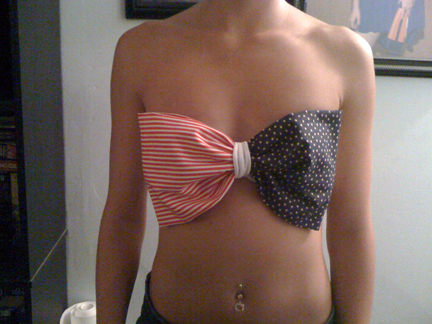
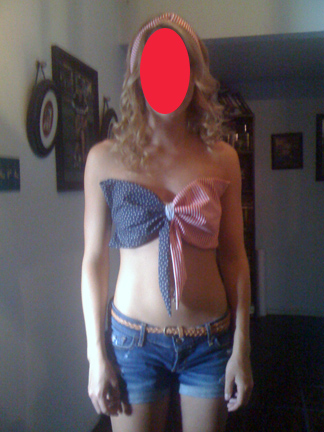
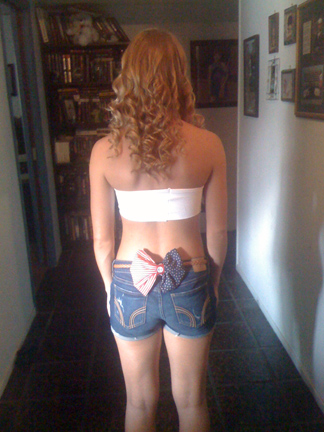
Once you have your bow in place the last thing you need to do is close up the back. simply sew a straight seam right down the back. My daughter expressed a serious dislike of the seam down the back and when I make another one of these I will be sure to spin the bandeau around so that the seam is either in the front hidden by my center piece or under the arms but for a quick project at the last minute, sewing it down the center served its purpose. Here’s what the completed bow bandeau looked like.
That’s Acacia. Didn’t I tell you she has an awesome figure? Yeah, well, she’s almost 19 so pfft. Anyhow, Acacia felt very naked in this little top because she’s not accustomed to running around in public like that. Inside the house is a different story but anyhow, she asked me to make it again only this time with a bigger bow and tails. Normally Acacia would wear something like this over her bathing suit but its summer and she always wears something cute for the 4th of July. She celebrates it with fashion LOL! I have to say I like the first version better but if she feels more covered up by the second version then so be it, who am I to enforce nudity? Here’s the second version with tails.
We didn’t want to waste the first bow so I folded it in half again and made a smaller bow that she stuck on the back of her belt loop.
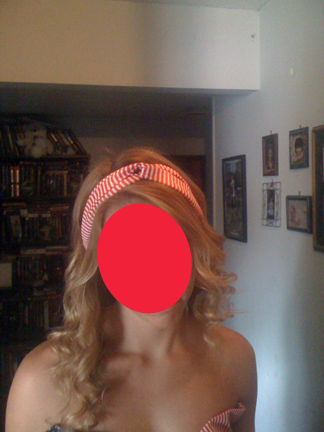
And then she begged for me to make one more piece. She just had to have a matching headband so in about 15 minutes I whipped up this elastic headband with the rest of the red striped fabric. I’ll write a tutorial for that another day.


I’m glad you found it useful. would love to see pics of your finished project.
This was one of the best tutorials I have ever come across. Thank you for explaining it so well! i’m the same age as your daughter and I cannot wait to make my own over the summer!