
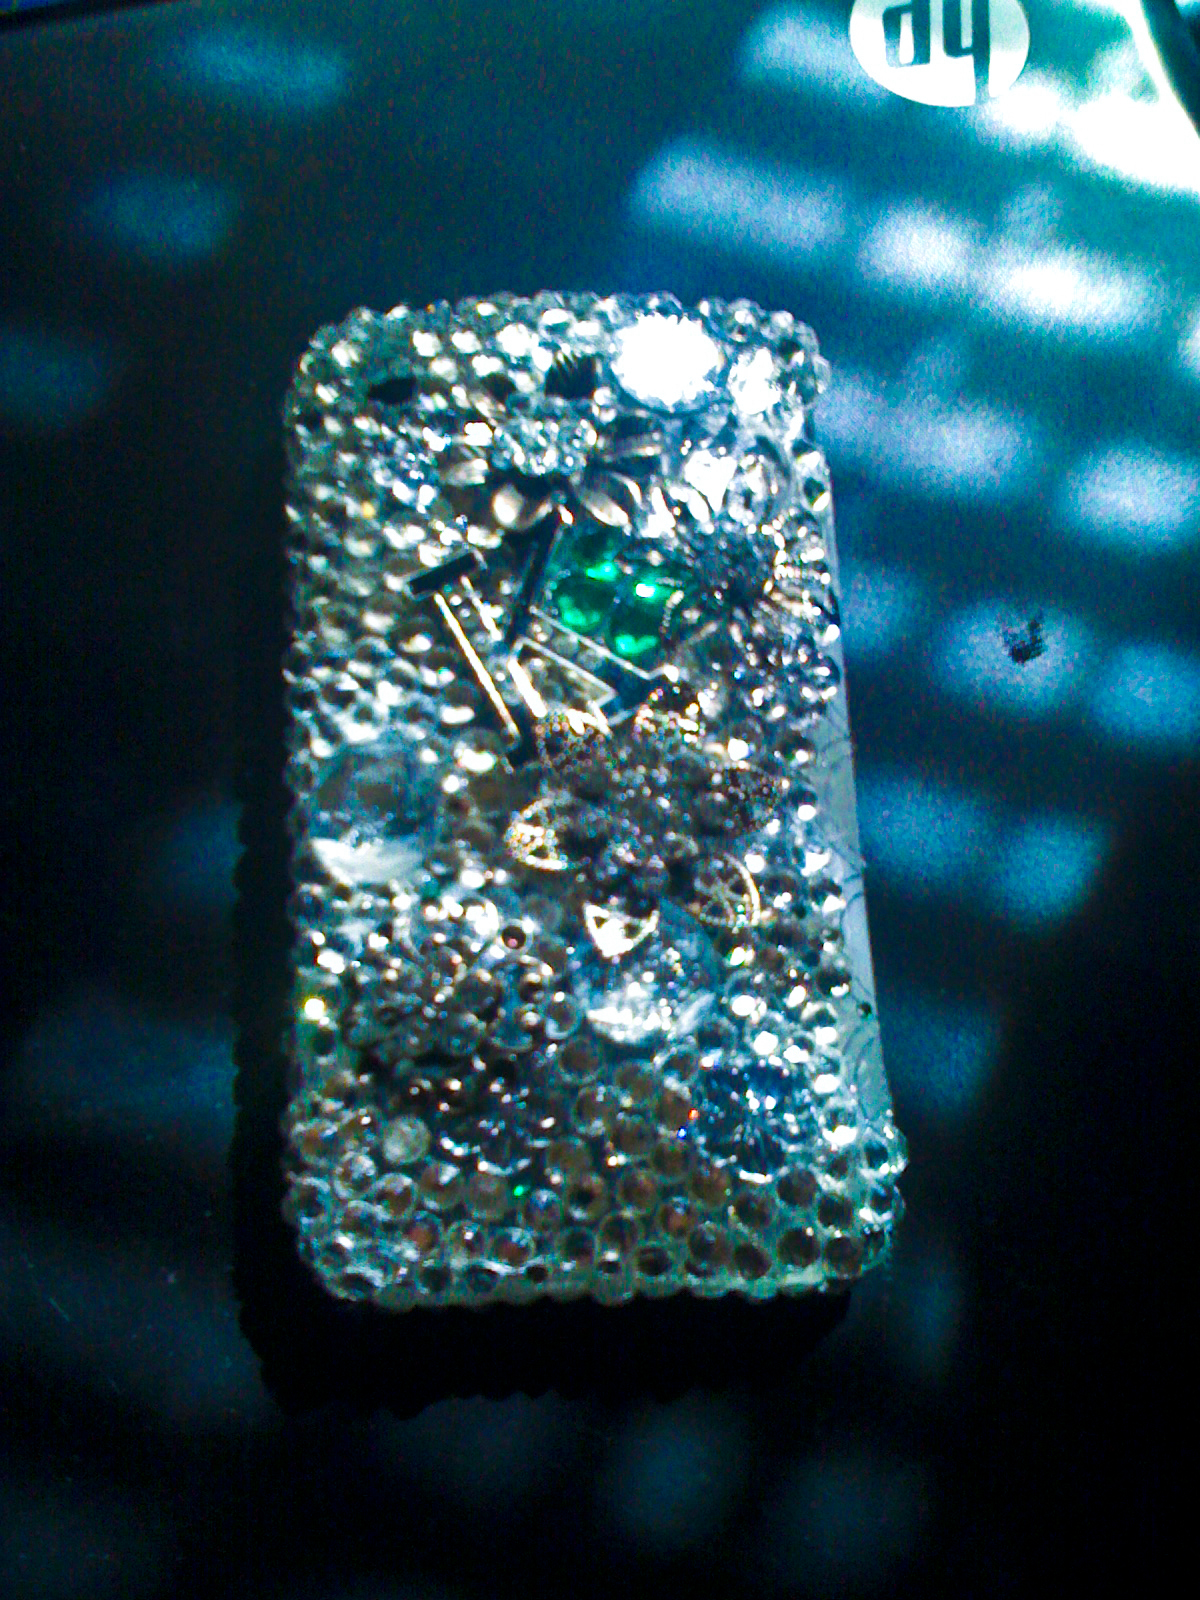
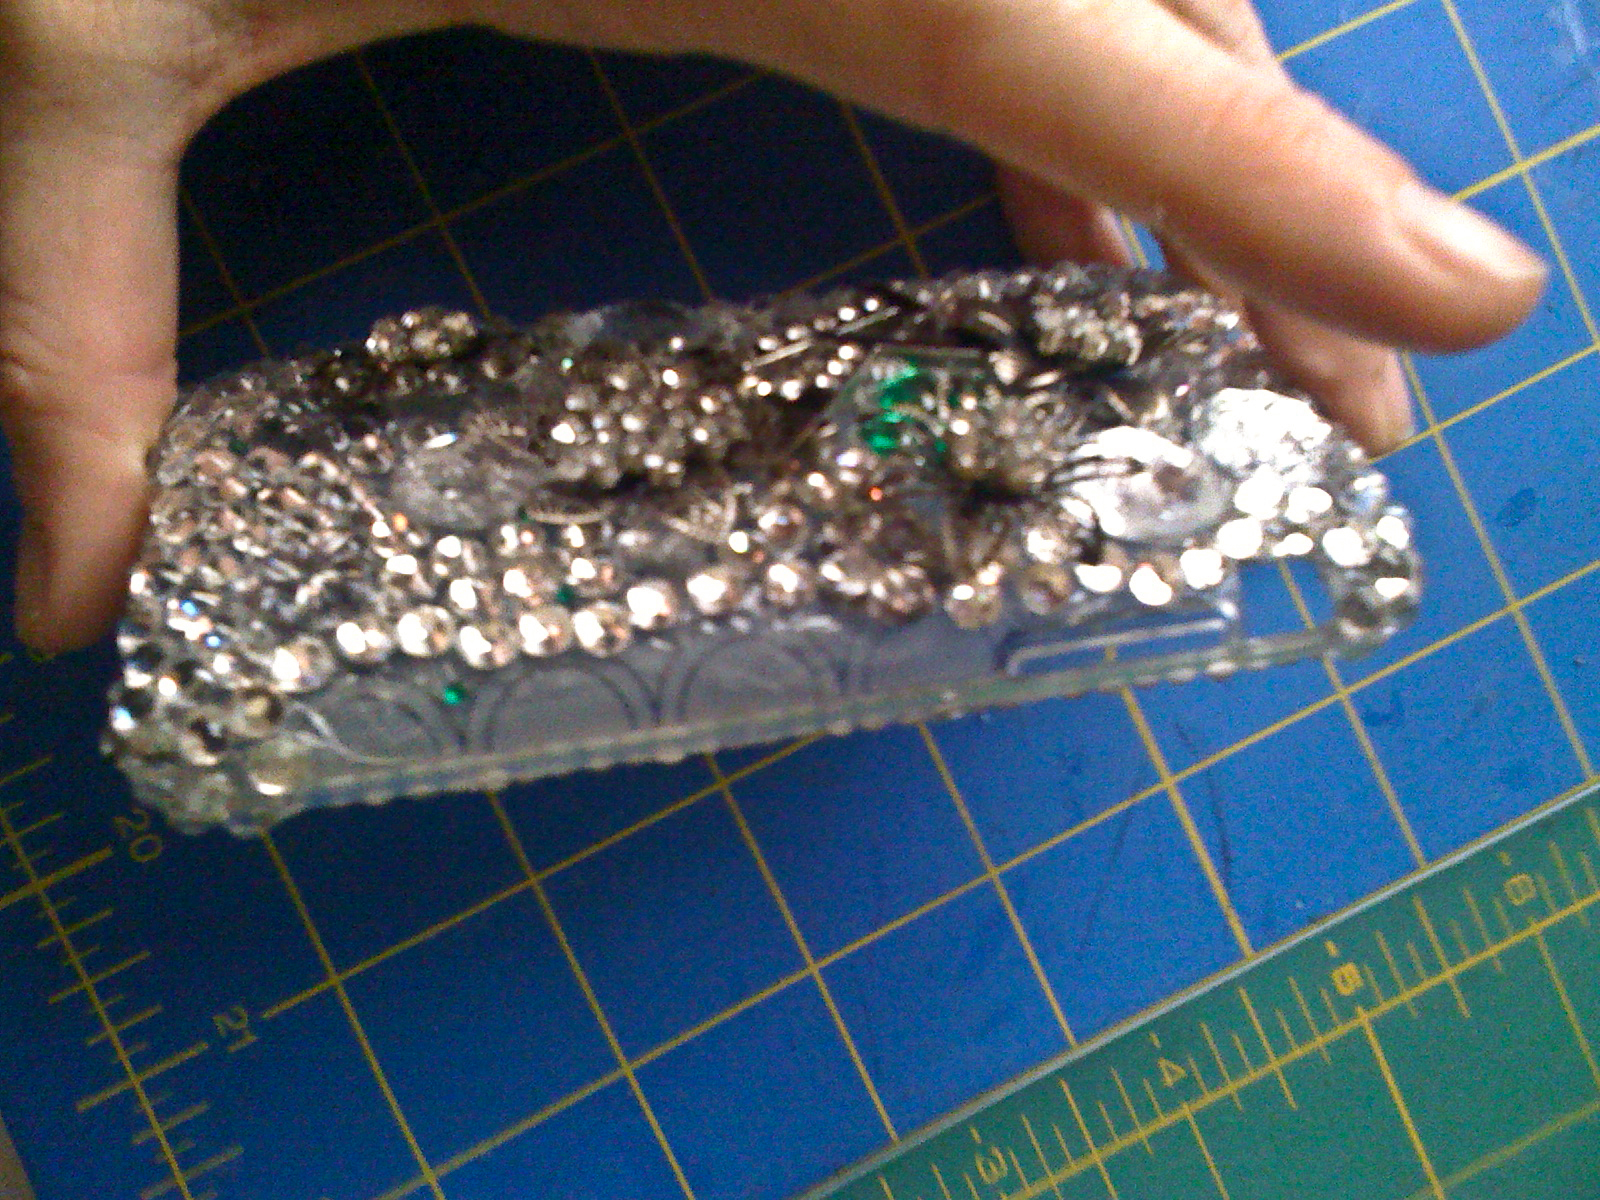
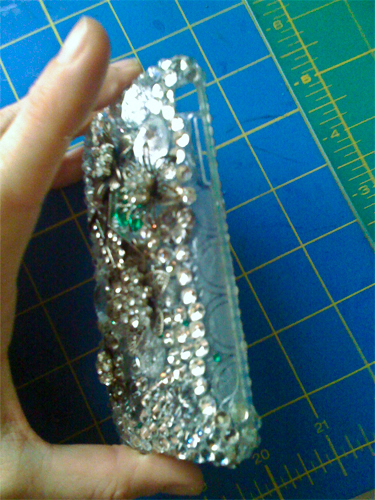
Everyone wants a personalized iPhone case. I’ve seen Hello Kitty designs, Music Notes, Skulls, Monograms, Cupcakes, you name it. Since I work at a craft store I see a lot of people buying gems and glue and heat tools and resin and all sorts of supplies so they can bling up their cell phone case. I figured it would be fairly easy so I designed my own case and for about $10 I made my own awesome and shiny bejeweled iPhone case. I used a metal Bookmark charm in the shape of the letter K and a package of metal flowers that had clear rhinestone centers, a green acrylic 4 leaf clover and a sprinkle of tiny 2mm green rhinestones as well as a ton of clear flatback rhinestones to design my case. I love the sparkle of the clear rhinestones and it looks amazing with a handful of green sparkles amidst the clear. Here’s what mine looks like and how I made it.

DIY Instructions: BeJeweled Cell Phone Case
Summary: Easy steps to adding jewels, gems and bling to your cell phone case
Supplies Needed
- A few thousand 5mm flatback crystal gems
- Assortment of gems, jewels, flatback resin pieces, jewlery charms etc.
- E6000 Glue
- 1 Silicon or hard plastic cell phone case
- 1 wooden skewer
- 1 Q-tip
Instructions
- Before you start gluing things to your sell phone case take the time to design your case and sketch it out. Your sketch doesn’t have to be a Picasso it just has to somewhat resemble what your case will look like. I free-handed mine and placed everything as I went along but I found that if you want a particular style like a skull and crossbones then you have to plan for the placement of each gem because boys and girls, we will be laying down each and every gem by hand.
- Once you have your design finished set your supplies up in front of you because you will be spending some time in the same position. Having your supplies at your fingertips makes the process faster.
- Have a paper plate in front of you so that you can rest your skewer on it and drop any loose gems on it. It also gives you something to wipe excess glue on.
- Cut your wooden skewer in two. One half should come with a pointed end, use scissors to trim the tip of the other half into a point. Now you have two wooden skewers.
- Squeeze a dollop of E600 onto the paperplate and immediately plug the tube with the Q-tip. This will keep your E600 from drying up on you. Air is what sets the glue up.
- Drag the pointed tip of only 1 wooden skewer through the dollop of E600. Wipe off the excess onto the paper plate. Allow skewer to sit until the adhesive begins to set and the tip is sticky to the touch or slightly tacky.
- Remove the Q-tip from the tube of E600 and gently squeeze the tube until you can see the glue coming out but it does not drip out. dip the 2nd wooden skewer into the glue oozing out of the E600 tube and rub it off onto the cell phone case. Immediately re-plug tube with Q-tip.
- *Tip – you must work quickly because E600 sets very quickly.
- Going back to the first wooden skewer that is tacky, press the tacky pointed end onto the top of one of your gems. It should be tacky enough to pick up the gem. Place the gem into the E600 you rubbed onto the cell phone case. Press and hold for a few seconds. The gem should stay put and be set in place.
- Continue applying gems, jewels, resin flatbacks and other jewelry design elements until you have achieve the look you are after.
Quick notes
You can order 3,000 gems from China on eBay for about $3 with free shipping. You’ll need at least a minimum of 1 set to completely cover your case like I did mine.
Preparation time: 5 minute(s)
Production time: It took me 2 days to place every single gem on my case.
My rating


