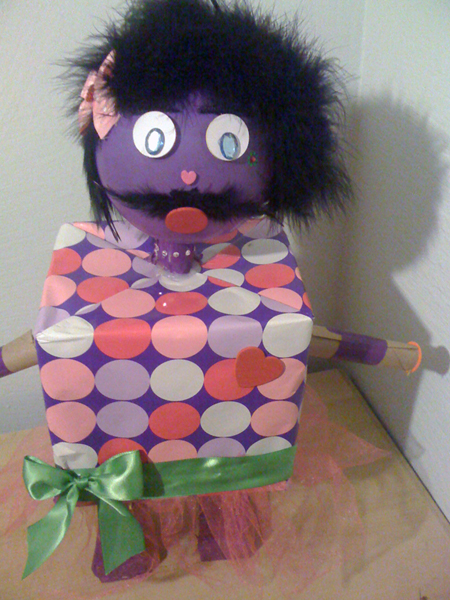
Make Your Own Girl Robot
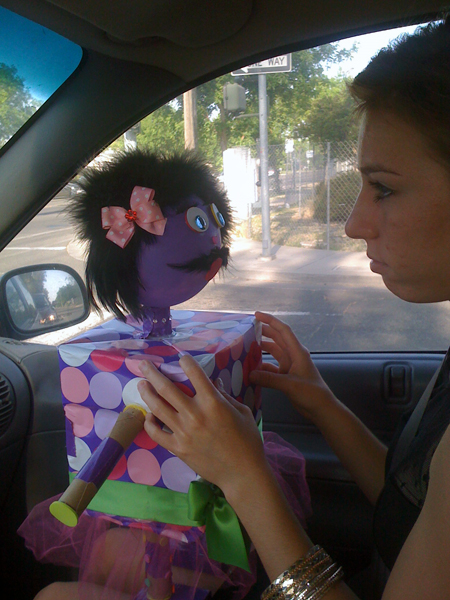
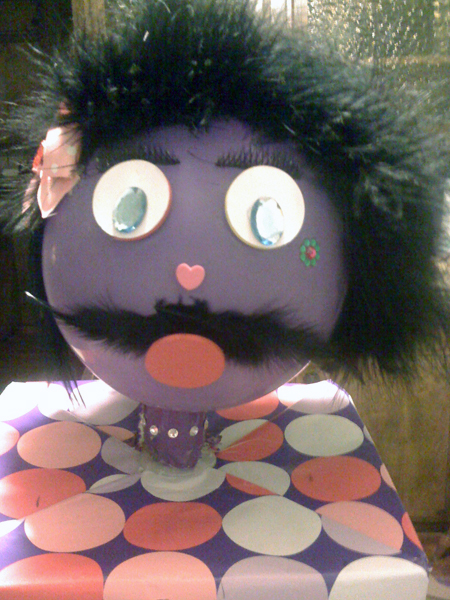
Lulu Ann is what we named our homemade girl robot. The story we made up about her as we put her together was a bit unsavory but that’s what happens when you get a group of older girls together for such a fun and silly project. Regardless of whether or not you need to build your own homemade girl robot for a school project, as a means to occupy a smaller child or as a group project this little robot craft idea is perfect. It’s cheap, simple and fun to do.
Recommended Age: 6 to grown up women
Here’s What You’ll Need:
- Hot Glue and Cool Glue (LOTS of it!)
- Duct Tape
- Wrapping Paper
- Modge Podge
- Sponge Paint Brush
- Craft foam in various shapes or in sheets to make your own shapes
- Maribou and Feather Trim
- Fake Eyelashes
- Acrylic Gems
- Ribbon
- 1 Balloon
- a 6×6″ box
- 2 boxes 3x2x1
- Handful of pebbles, rocks, acrylic rocks
- Tule
How You Make it:
Making Lulu the girl robot is pretty simple. You can figure out most of it just by looking at her but here are the specifics.
Cut enough wrapping paper to wrap the 6×6 box in the same way you wrap a present. As you wrap the box use the sponge paint brush to coat the sides, top and bottom of the box with modge podge. It’s important to modge podge the paper to the box so that it won’t rip off when you start gluing other body parts to it.
Pull the carboard tube from inside the wrapping paper and use it to make arms and legs. Cut the tube into 4 pieces about 5 inches long and another piece about an inch and a half long for the neck.
Fill the insides of the 3x2x1 boxes with rocks and wrap completely covered in duct tape. These will be your robot’s shoes and the weight will keep her from toppling over.
Stand one of the 5 inch long tubes on top of a small rock-filled box and trace around the tube with a pen or marker. Place the tube so that it is towards the back of the box. Think of robot feet. Then cut along the tracing and cut out a hole in the top of the box. Push one end of a cardboard tube into the hole and use hot glue to attach them. Glue inside the edge of the hole and seal it up nice and tight. Repeat with the other rock-filled box and a 5 inch long tube. You should now have both legs and feet attached.
Place the bigger box that you wrapped on top of the legs. Balance it until she can stand without falling over. Trace around the top of the legs and then flip the box upside down and cut out those holes. Push about an inch of each leg into the hole and seal around the edges with hot glue.
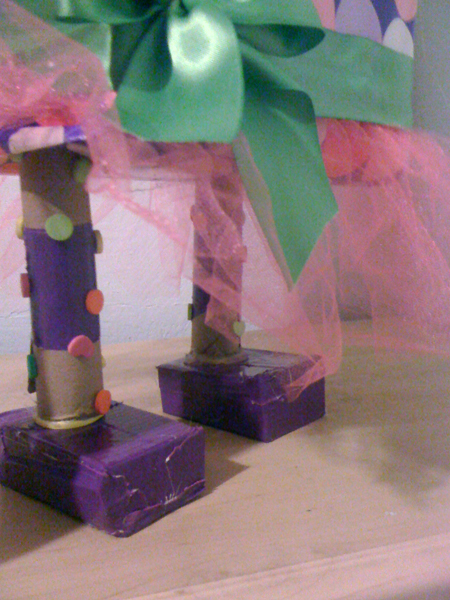
Repeat the last step with the arms. Trace the tube on the sides of the box, cut out the hole, insert tube and hot glue sealed. Craft foam circles glued to the ends make a great cap so there’s no need for hands.
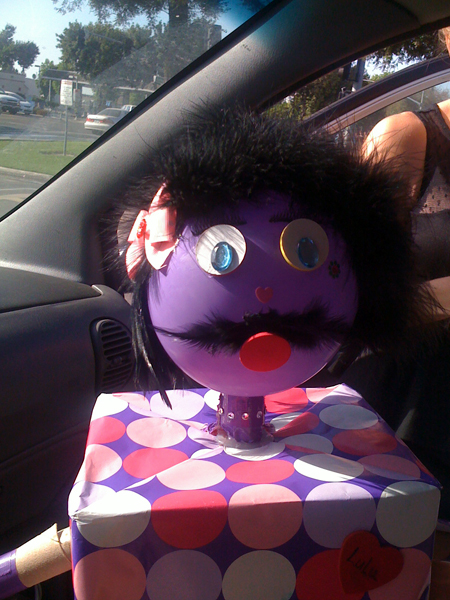
For the head blow up a balloon. Use craft foam circles for eyes and glue acrylic gems to the center of the eyes to add personality. Use feather and maribou trim to give it some hair and add a hairbow. We used a single feather to create a mustache (there’s great scandal about how our Lulu robot came to have a mustache!). Get creative when it comes to making your robot’s face. A tip for decorating a balloon is to use cool glue instead of hot glue. You can find cool glue at any craft store and it’s more safe for little fingers. We tried regular Elmers glue and a couple of scrapbooking adhesives but cool glue works the best and dries the fastest.
Once you have her head decorated you need to glue the end piece of the balloon to the inside of the neck piece. This is the trickiest part of the project. First make a ball of duct tape in the shape of a cork. make it small enough to fit inside the 1 1/2 piece of cardboard tube you cut earlier. Duct tape the cork shape to the end piece of the balloon. Insert the cork shape (now attached to the balloon) inside the 1 1/2 inch tube. Use cool glue to make a bead of glue between the base of the balloon and the tube. When it dries add an extra bead around the edge of the tube. You won’t really see this bead of glue because it will essentially be tucked under her chin, this is the base of her head. You are in essence caulking the balloon to the tube. Flip upside down and fill up the remaining space inside the tube with cool glue. We wrapped our neck in purple duct tape and added a few Swarvosky gems for decoration.
To mount the head to the box, use the same process you did for the arms and legs. Place it on top of the box where you want it and trace it. Cut out the hole, shove about half an inch of the tube inside the hole and seal up with hot glue. You will need to add quite a bit of hot glue around the base of this for it to be good and sturdy. Add gems or ribbon or glitter so that the glue looks like a necklace rather than just a bunch of hot glue.
Hot glue tule in a ruffled fashion. Cut the tule as long or as short as you like. The more tule you use the fuller her tutu will be. Glue a ribbon over that to hide the edges, add a bow and voila! your robot has a tutu.


MartaTake some puzzle picees. Paint them different Christmas Colors. Glue them together to look like a Christmas wreath. Glue a bow and an ornament hook to them, and hang them on your Christmas tree. They look very pretty! You can also give them to your friends or family members as agift.