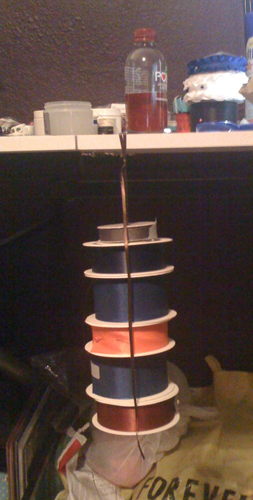
I have so much ribbon it just makes a mess everywhere. I stack them 4 or 5 spools high and make rows out of the stacks. It might sound like this is a matso-matso method of organization but in all reality it’s much worse than it sounds; it’s a downright lousy method.
When I’m making a hair bow I end up spending a good 5 minutes or so hunting through the rows of stacks in search of just the right ribbon. Last night while looking for a certain spool of white and black polka dotted grosgrain I accidentally knocked over my glass of water. and let’s just say several spools of ribbon got washed.
I was pretty pissed off while I was trying to dry out my ribbon and make sure none of the fabric was ruined. First I yelled at the ribbon, “Damnit!” then I yelled at the water, “What the hell!” and then I turned and yelled at my husband, “You were supposed to build me a ribbon box 3 weeks ago! If I had a ribbon box my ribbon wouldn’t be all wet!”
At Michael’s craft store there are these white, wooden, ribbon dispensers that cost $29. I like them and I’d buy a few if they weren’t $29 because they only hold a few spools of ribbon and well, that just ain’t gonna work for me. I asked Mr. Suburbanwife if he would build me one since he has more time on his hands than I do. I’m still waiting.
After my husband left me to mop up the water it dawned on me that I didn’t have to have a fancy wooden ribbon dispenser box; basically all I needed was something efficient. Who cares what it looks like. Besides, by the time he builds me one I’ll probably be out of the hair bow business. So on the fly, spur of the moment I came up with a quick idea for a ribbon dispenser using crap I already have on hand. It turned out pretty cool, being cheap and all, so I thought I’d share my idea. Here’s the instructions for building your own free, cheap and cool ribbon dispenser box that holds as many spools of ribbon as you want it to.
Supplies Needed
1 cardboard box
wooden dowel rods, floral wire, coat hangers or any other thing you can use through the middle of your spools of ribbon. I had some fabric coated floral wire on hand that I used. You could even use a length of rope or ribbon if you have to – it’ll just sag a tad bit.
Duct tape
Buttons or toggles if you have them.
Instructions:
1. Remove the flaps from the top of the box so that your box is open from the top. If you want to decorate your box this would be the right time. You can decorate it with contact adhesive shelf paper, wrapping paper, paint, crayons, makers etc.
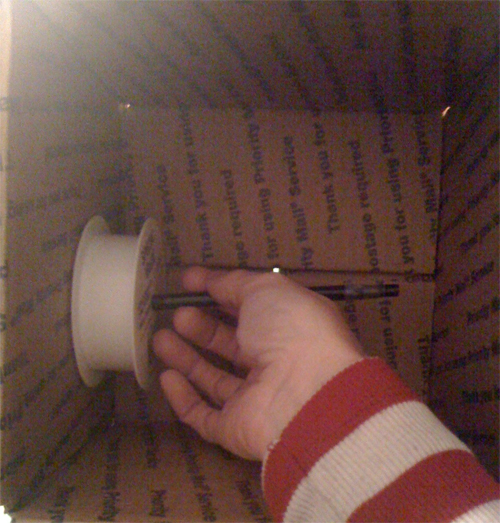
2. Place as many spools of ribbon in the box as will fit. Stand them up like in the photo of my box. Organize them according to size so the fit coherently inside your box.
3. Take out all the ribbon except for one spool.
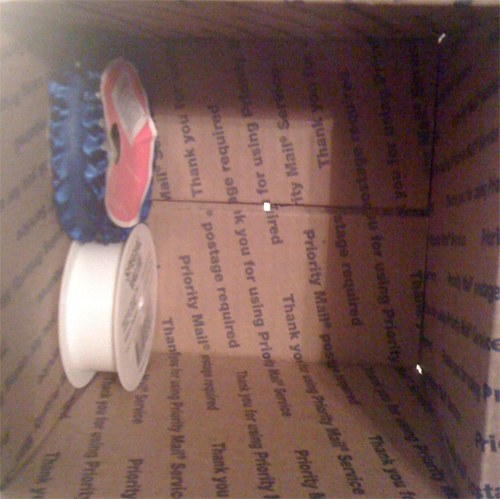
4. Stick an ink pen through the hole in the center of the spool of ribbon and make a little mark. Repeat this on the other side of the box.
5. Jab something sharp through the mark you made. (I used the ink pen)
6. Insert the dowel rod, floral wire, coat hanger or whatever you’re using to hold the ribbon in place, through one of the holes you just made.
7. thread ribbon spools onto the “rod” and then push the “rod” (or whatever you’re using) through the hole in the other end.
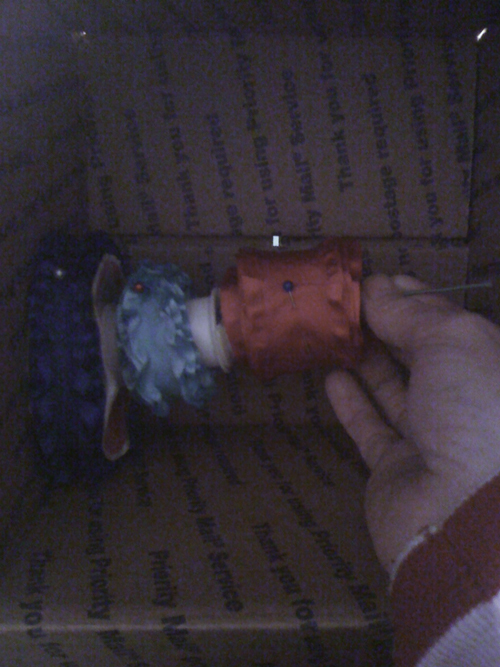
8. If you’re using a coat hanger or floral wire then you’ll need to bend the ends up a bit so it will all stay in place. I threaded the end of the floral wire through a button and then bent the end over. If you’re using ribbon just tie a knot at the end that is larger than the hole. You can also simply duct tape the ends to the box.
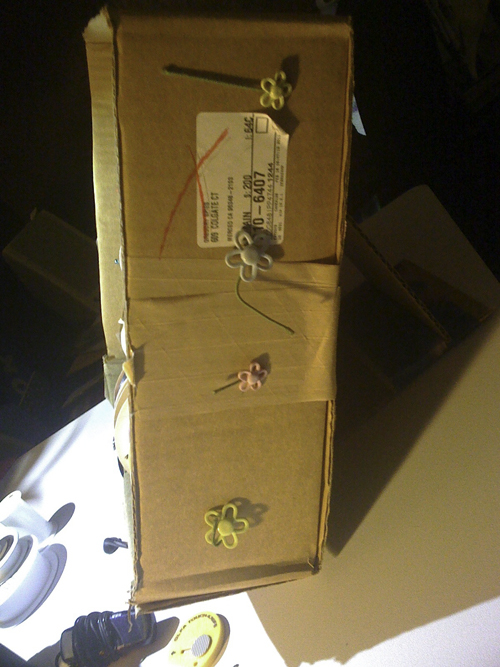
9. Start a new row of ribbon by repeating the steps above.
To Make it Stand Up
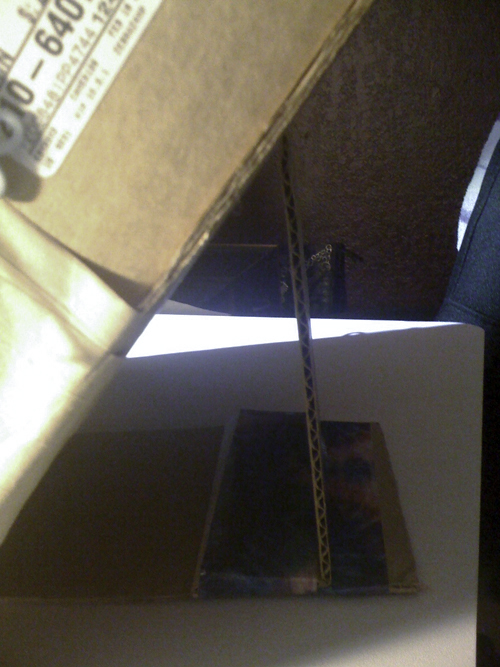
1. Use two of the flaps you cut from the top.
2. Lay the box down face first and duct tape about an inch of the top of one of the flaps to the back of your box.
3. Duct tape the other flap to the bottom of the box and to about an inch of the bottom of the first flap already attached to the box. See photos for explanation.

When all else fails you could just thread some ribbon through the center of your spools and dangle it from the edge of your table by hot gluing the ribbon to the surface. Like this:
